


Friday is DIY time.
In January we gave you DIY for basic pencilcase. Thoose little pencilcase you certainly use to keep some small collection of pencils, pens or rullers. If you need something bigger you get it today!
We show you easy way to increase your pencilcase. It doesn"t need much more fabrics and yours work but for sure this pencilcase meet your expectation. You can modify this pencilcase in various way: widen, lenghten, sewing verticular stitches to make your dream size.
Enjoy.
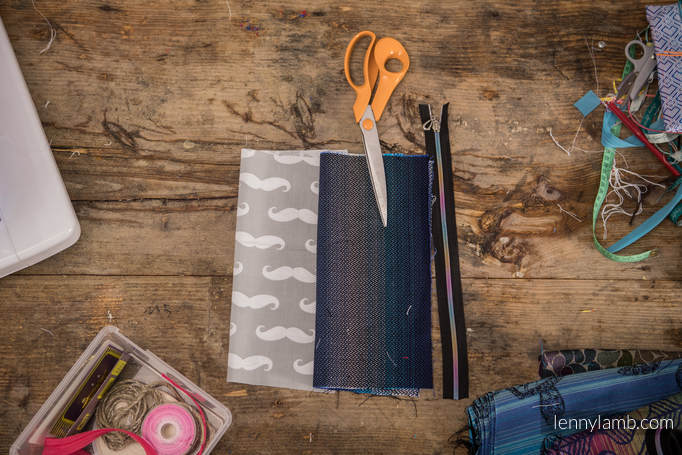
You will need:
Two pieces of fabric measure 30cm x 30cm; we will make quite a big pencil case
Ribbon or leather cord
Zipper
Scissors and seam ripper
Marker or tailor’s chalk
Tape measure
Sewing pins
Sewing machine and threads
DIY for our basic pencilcase you can find at link above.
Below you have extra step photos, which give you a increase of yours pencilcase.
Sewing even both edges (width 0,7cm). Now you can fold the corners in the way like it's presented on the picture.
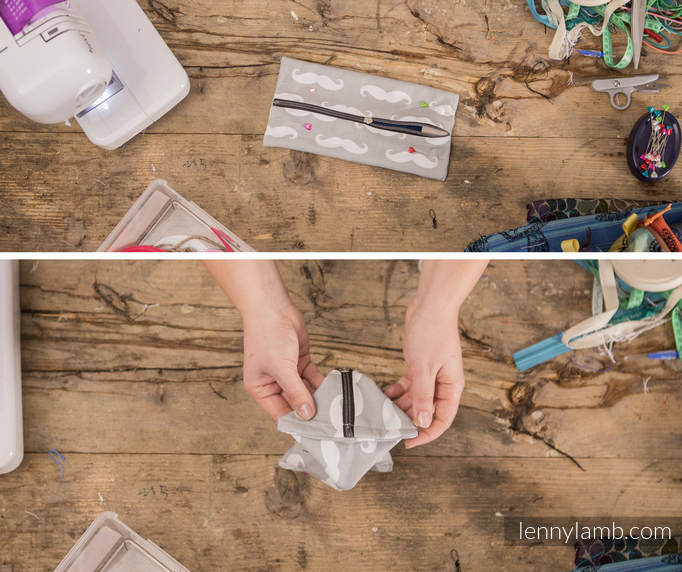
Measure the distance, marked it and sew it on the sewing machine.
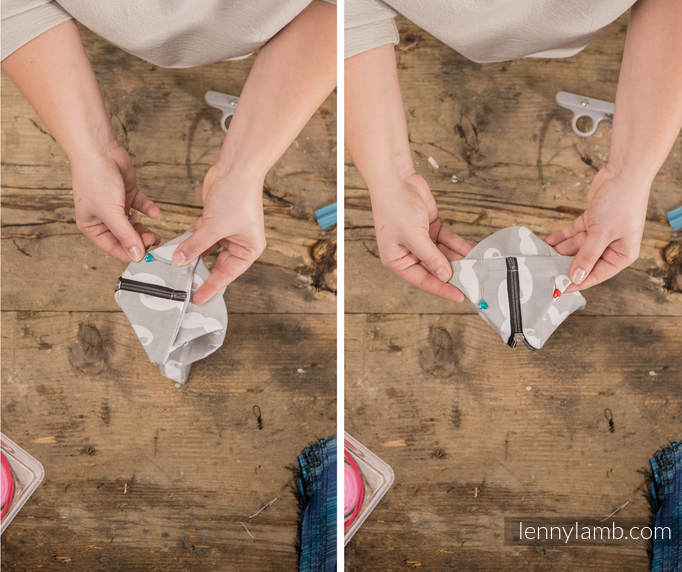
Pop in the sewing pins and sew it on the the sewing machine.
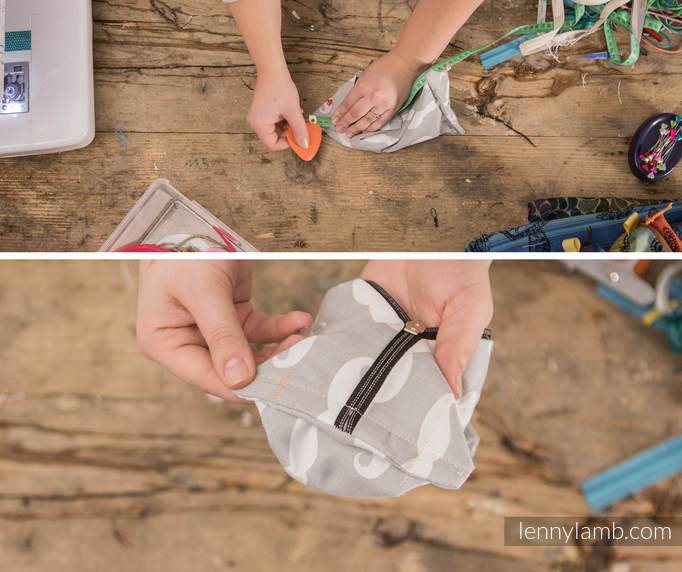
Reverse the pencil case to the right side. Now you can see that vertical stitches make our pencilcase bigger in vertically way.
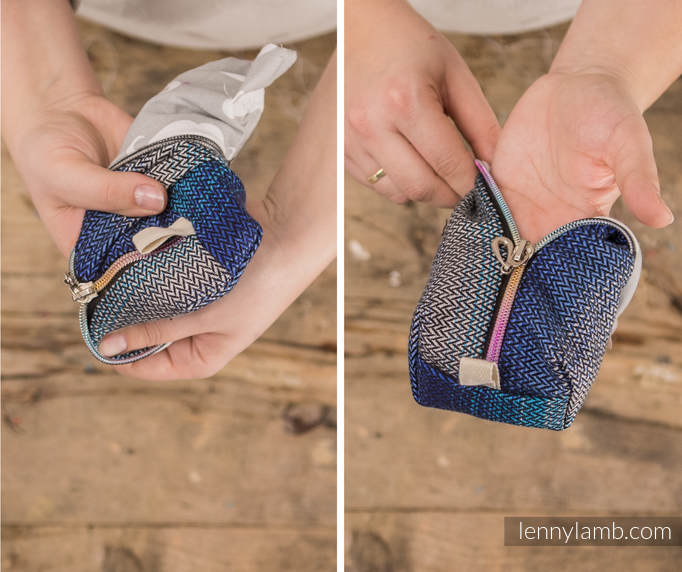
This option you can use to many of your sewing projects: makeup bag, bags, sachets, waist bag.
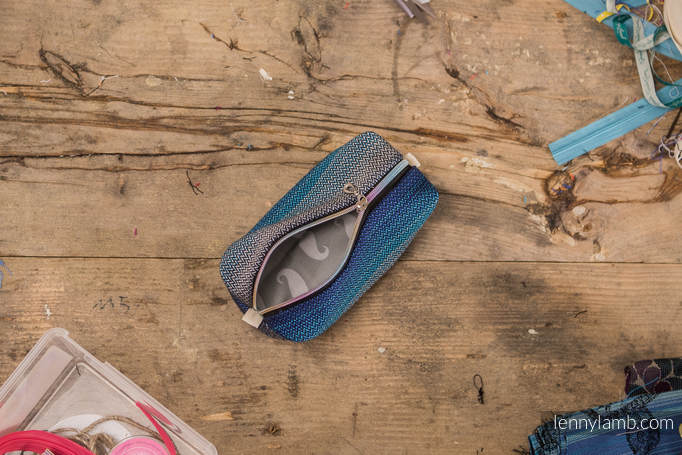
Share your pencil case from FabricArt fabric on our facebook fanpage!
https://www.facebook.com/FabricArt-622804757812359/?fref=ts
And stay tuned! More great tutorials are coming! See you next Friday!
FabricArt Team!