Easter
DIY Jacquard Egg!
Hello! We have a cheerful spring post for you today! Easter is coming. It’s only one week left! Why don’t you make Easter Eggs with kids?
Everyone can create Fabric Wrapped Eggs. It’s not idea about great fun, but it’s also creative way ofspending quality time with your family. Easter Eggs will add some spring joy to you home!
Jacquard Fabric Eggs will also be a wonderful springtime gift for your family and friends.
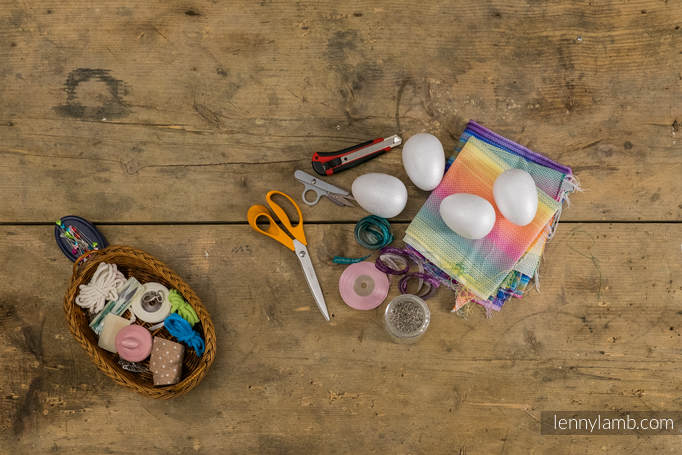
You will need:
Smooth Styrofoam Egg
Fabric Scraps
Marker and papier
Scissors
Utility knife
Metal Nail File
Ribbons, Strings
Straight pins
Ready? Let’s start!
1st step
Mark north and south pole on your Smooth Foam Egg and connect poles with the lines which will divide your ball into fourths.
2nd step
Lay the paper over your ball and draw the pattern of the single section. It doesn’t have to be precise. Next draw the pattern on the fabric about 1cm out of the edge of the paper pattern and cut it out with the scissors. This time we didn’t use paper pattern.
3th step
Cut the egg with utility knife for about 1cm. Then tuck the fabric into the grooves with the metal nail file. Split the fabric evenly on the egg so the similar amount of fabric would be in the grooves. Trim off the excess fabric with the scissors.
4th step
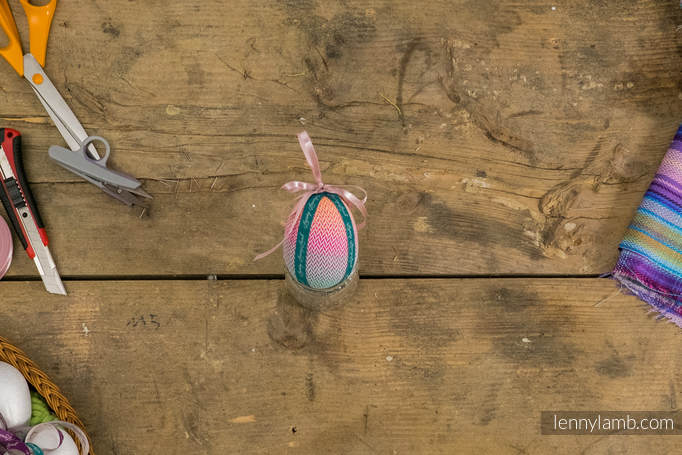
Cover the fabrics connections with ribbon or the string. Fix it with the straight pins. Choose the simplest ones to hide it easily.
5th step
Cut a long piece of ribbon, fold it into half and make a knot in the distance of 5-7cm. Next tie the bow on the knot. Adjust the bow size to your egg and fix it with the straight pin to the north pole of your Easter Egg.
Share your DIY on our facebook fanpage!
https://www.facebook.com/FabricArt-622804757812359/?fref=ts
And stay tuned! More great tutorials are coming! See you next Friday!
FabricArt Team!